Tag Archives: spool bed

Jenny Lind Spindle Bed pt. 1

Standard

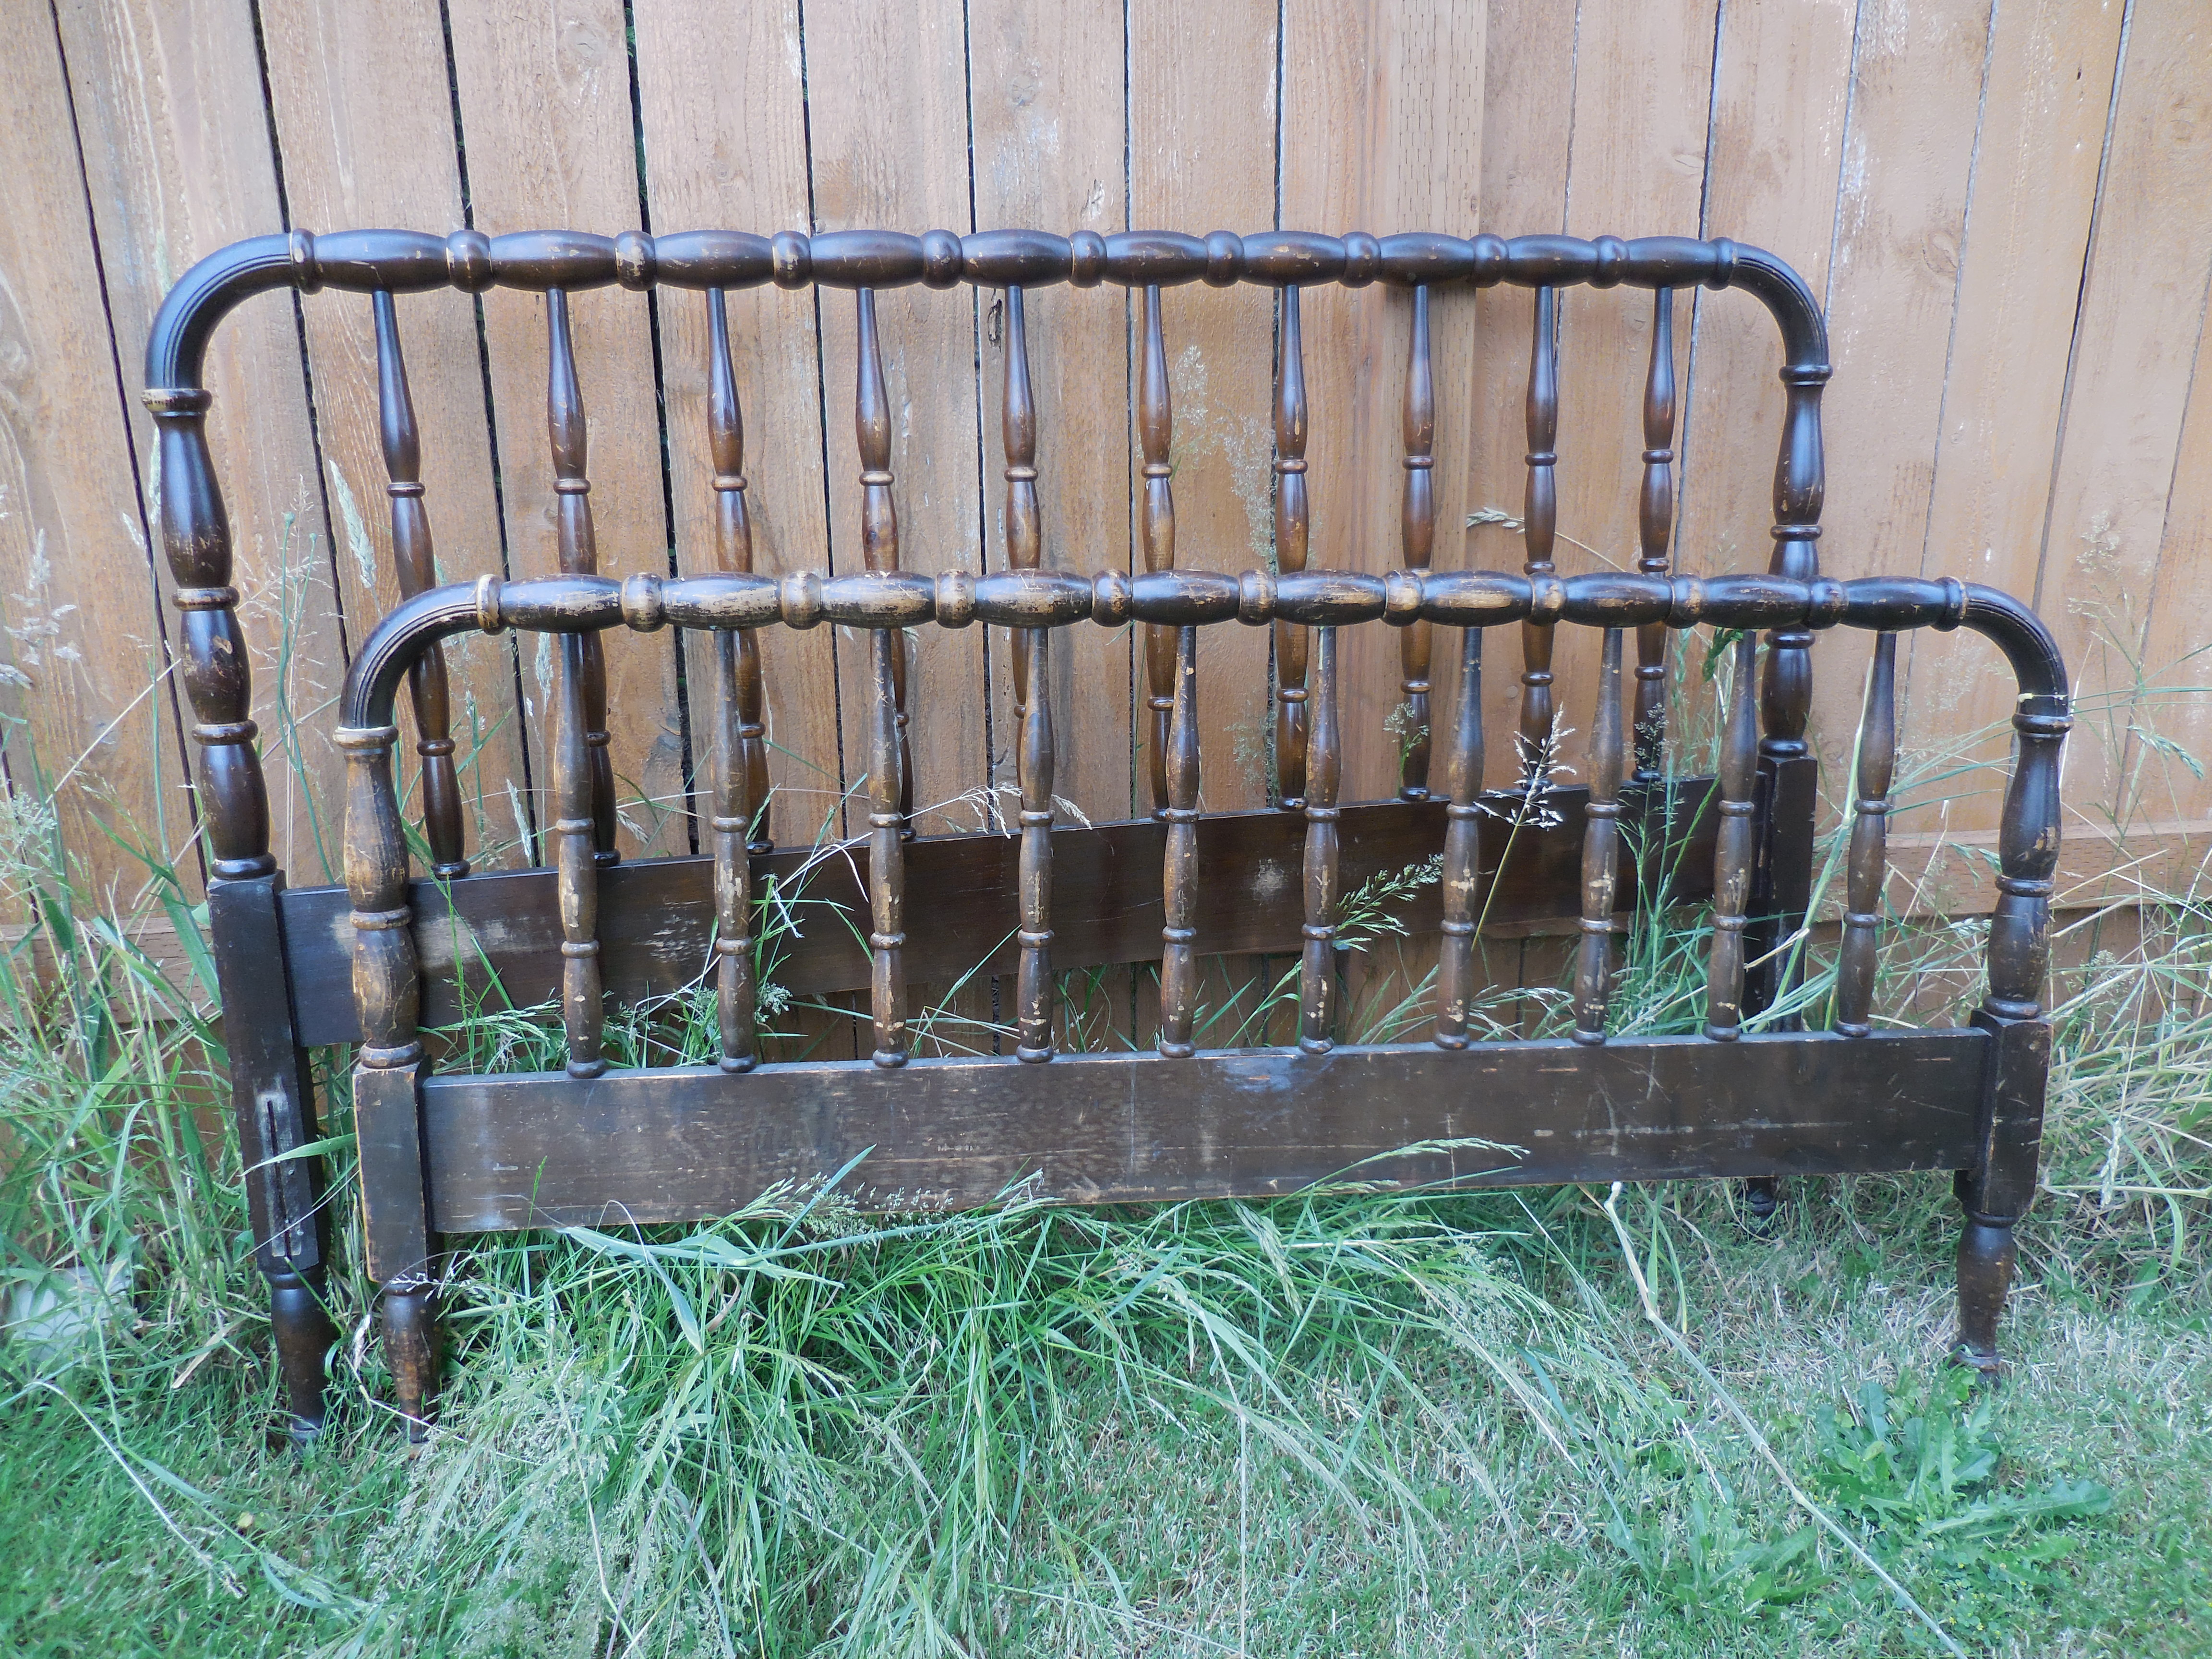
With spring just around the corner, what better time to get going on a new project. I scored this Jenny Lind spindle headboard and foot board off of Craigslist for FREE this fall. At first glance, I saw that it was in rough, but workable shape.  With just the headboard and foot board, I was in need of some side rails.  I thought I had seen hook-in side rails at the local ReStore, so I made my way to see what I could find.  Luckily, I found just what I was looking for…and for a great price.  The metal side rails will look great once I’ve given them a coat of spray paint to match the bed frame.  I’m thinking I’ll paint it all black, just like the previous spindle bed.  Now, you may be asking yourself…another bed frame?  I was fortunate to find the other bed frame I’ve already painted.  That being said, I had every intention of finding a bed frame with the signature rounded corners.  Lo and behold, mission complete.  All that’s left is getting it back into shape and putting my own spin on it.  While I was taking pictures of the bed frame, I noticed that the foot board is a bit loose.  So, per usual, I’ve got my work cut out for me.  That being said, I’ve done it once, I can certainly make it happen again.  And so the next adventure begins…

Projects with Potential

Standard

With the dry weather finally here, I’ve actually got some pretty great conditions for working on those projects I’ve had on hold for a while.  However, until that forward progress happens, I figured I’d share a bit about some projects that I have recently re-homed.  Here me out.  Somehow, I find it fairly easy to acquire new pieces to work on, but the time to work on them doesn’t seem to come as easy.  So, this past week, I let a couple of them go.  DSCN6237One of them was a truly fabulous, vintage spindle/spool full/double bed frame I had gotten for FREE off of Craigslist nearly a year ago.  It did need some structural work (mainly repairing some previously poorly-done repairs), so it just sat around waiting to receive some attention.  Attention that I currently don’t have the skills to make happen.  The second piece was DSCN6255a record holder/stand/cabinet I acquired at a recent garage sale…turned FREE sale.  It had pretty good structure and seemed like it’d be fun to refinish.  That being said, it was in pretty rough shape, but I figured it wasn’t in much worse condition than any of the other pieces of furniture I’ve worked on.  The top was peeling off and well, it was taking up space.  Hmm…I sure do seem to have a thing for “diamonds in the rough”.  Guess I just like to see something transform from something that someone would literally give away into something truly remarkable.

With that being said, there are still two pieces awaiting my attention.  I do hope to make some forward progress on the vintage bookcase I started working on last summer.  I’m still unsure on what color scheme I want to use on that…which seem to be my current hold-up.  In addition to the bookcase, I’ve also got a piano bench that I said I’d refinish for a friend.  This piece is a pretty straight forward project…literally just sanding, staining, and clear coating.  Simple, right?  Seems to be some famous words I’ve said, ‘eh…heard a few times.

Spindle/Spool Bed History

Standard

spoolbedillustration OBSESSED WITH SPINDLE AND SPOOL BEDS!

While the bed is still a work-in-process, I figured I’d do a little bit of research on this particular type of spindle or spool bed.  The following addresses will link you to sites that provide some history about said items: http://cnjjasna.blogspot.com/2010/06/spool-beds-popular-in-jane-austens-time.html and http://antiqueshoppefl.com/archives/ftaylor/cs174.htm.  I can’t remember if I mentioned it in a previous post, so forgive me if I am repeating myself.  When we were originally working on taking the side rails of the bed apart, we noticed that it was held together with square nails.  That’s right, square nails.  Yet another clue that leads me to believe this is a pretty old bed that I’m working to bring (tastefully) into the 21st century.  Don’t worry, we saved many of the square nails.  You never know when you can use/might need a square nail.


Done By Hand

Standard

As I was putting the first coat of color on the spindle bed headboard, I found myself thinking how GOOD the bed frame looks…and it isn’t even done.  Though I’ve had doubts that I could get the results I was hoping for…even with me doing all of the work by hand, I no longer have those doubts.  YES, it has been a ton of work thus far.  YES, I have been working on this particular project off-and-on for a year.  YES, I am rather particular.  But, I think all of those things are making it that much more rewarding.  At one point, I found myself thinking I should out-source this project.  At another point, I found myself contemplating buying a paint sprayer.  But in the end, sanding, painting with a brush, and keeping things clean along the way…that’s what I know AND it is giving me just the results I was hoping for.

So, here’s to working hard, being meticulous, and getting it done by hand!

As tempted as I am to post ‘during’ pictures, I’m going to hold off for just a bit longer.  You’ll just have to trust me when I say, the bed frame is starting to look just like the vision I’ve had in mind all along.  Stay tuned.

Spindle Progress

Standard

As I mentioned in the previous post, I came up with the great idea to remove some more spindles.  This time it was to be two from the headboard…which would then match the footboard.  So, I got out a little saw and removed those two pieces.  As a result, I was left with four rather deep dowel-like holes.  It would take a whole lot of wood filler to patch those holes.  A suggestion was given that I use the dowel side of the spindles I had removed as filler.  GENIUS!  DSCN3194I measured how deep each one could go in the hole and made a mark on that particular piece.  DSCN3198Got out the trusty little saw and went to work.  I was forward-thinking enough to mark each piece as to which hole it belonged to.  With those pieces sanded, I put some wood glue into the hole AND on the homemade dowel.  A little tapping and the pieces were in place.  It’ll take me a whole lot less wood filler to make these holes disappear.

Though I can’t take credit for the idea…I did bring it to life.